고급기능 Angular CLI를 사용하여 Angular 스프레드시트 응용 프로그램 만들기
페이지 정보
작성자 GrapeCity 작성일 2021-08-23 16:08 조회 944회
댓글 0건
작성일 2021-08-23 16:08 조회 944회
댓글 0건
본문
첨부파일
관련링크
Angular CLI(명령줄 인터페이스)는 Angular 개발자 도구 상자에 추가된 가장 인기 있는 기능 중 하나로, Angular로 개발 시 발생하는 많은 문제를 자동화하여 쉽게 시작할 수 있습니다.
SpreadJS는 Angular와 함께 사용할 수 있기 때문에 개발자는 Angular CLI와 SpreadJS를 함께 사용하려고 합니다.
이 튜토리얼에서는 를 사용하여 간단한 Angular 스프레드시트 응용 프로그램 생성을 자동화하는 방법을 보여줍니다.
 최종 결과
최종 결과
Angular 스프레드시트 설정
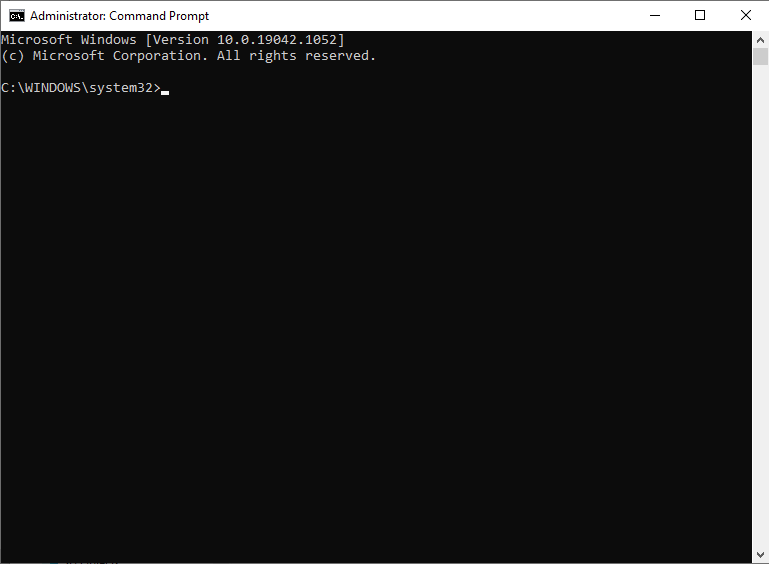
이 튜토리얼에서는 명령 프롬프트 사용에 초점을 맞추고 있으므로 명령 프롬프트를 여십시오.
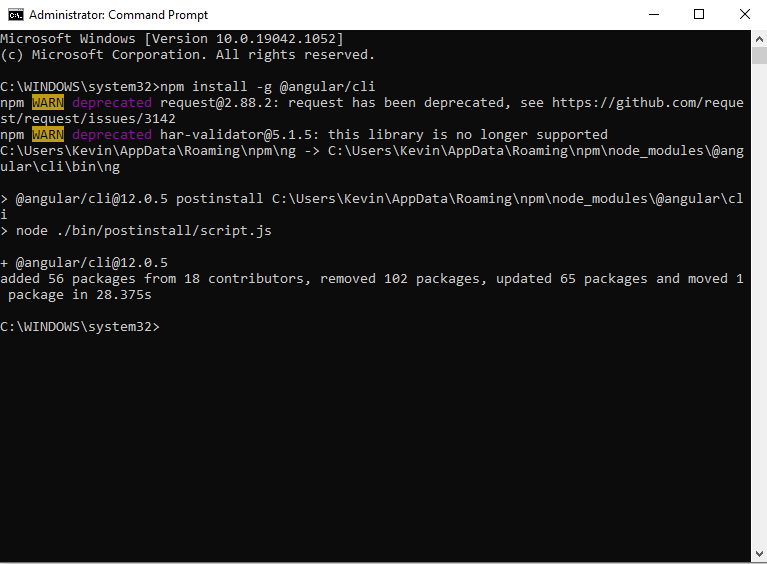
Angular CLI를 전역적으로 설치해야 하며, 다음 명령을 사용하여 이 작업을 수행할 수 있습니다.
npm install -g @angular/cli
설치한 후에는 Angular CLI를 사용하여 새 프로젝트를 만들 수 있습니다.
목적에 따라 프로젝트 이름을 "spreadjs-angular-app"으로 지정합니다. 명령 프롬프트에서 응용 프로그램을 저장할 위치로 이동하고 다음 명령을 입력합니다.
ng new spreadjs-angular-app

이렇게 하면 Angular 응용 프로그램을 실행하는 데 필요한 모든 파일이 포함된 디렉터리가 생성됩니다.
SpreadJS를 추가하려면 다음 명령을 실행하여 NPM에서 파일을 가져와 프로젝트의 디렉터리에 SJS 파일을 설치하십시오.
npm install @grapecity/spread-sheets @grapecity/spread-sheets-angular
파일이 설치되면 응용 프로그램에 위치를 알려야 합니다. 편집할 첫 번째 파일은 프로젝트의 루트에 있는 "angular.json" 파일입니다.
"styles" 및 "scripts" 속성에 추가해야 합니다.
{
  ...
  "projects": {
      "spread-sheets-app": {
          ...
          "architect": {
              "build": {
                  ...
                  "options": {
                      ...
                      "styles": [
                          "src/styles.css",
                          "node_modules/@grapecity/spread-sheets/styles/gc.spread.sheets.excel2013white.css"
                      ],
                      "scripts": [
                          "node_modules/@grapecity/spread-sheets/dist/gc.spread.sheets.all.min.js"
                      ]
                  },
                  ...
              }
          }
      }
  },
  ...
}
또한 "tsconfig.app.json" 파일의 링크를 추가하고자 합니다.
{
...
"files": [
  ...
  "./node_modules/@grapecity/spread-sheets-angular/dist/gc.spread.sheets.angular.ts",
  "./node_modules/@grapecity/spread-sheets/dist/gc.spread.sheets.d.ts"
],
...
}
마지막으로, SpreadJS Angular 스프레드시트 컴포넌트를 "src>app>app.module.ts" 파일에 추가합니다.
import { NgModule } from '@angular/core';
import { BrowserModule } from '@angular/platform-browser';
import { SpreadSheetsModule } from '@grapecity/spread-sheets-angular';
import { AppRoutingModule } from './app-routing.module';
import { AppComponent } from './app.component';
@NgModule({
declarations: [
AppComponent
],
imports: [
BrowserModule,
SpreadSheetsModule,
AppRoutingModule
],
providers: [],
bootstrap: [AppComponent]
})
export class AppModule { }Angular 스프레드시트 응용 프로그램에 대한 HTML 및 JavaScript 코드 추가
"app.module.ts" 파일과 동일한 폴더에서 "app.component.html" 파일을 수정하여 SpreadJS 컴포넌트를 표시할 수 있습니다.
<gc-spread-sheets [backColor]="spreadBackColor" [hostStyle]="hostStyle" (workbookInitialized)="initSpread($event)">
<gc-worksheet [name]="sheetName" [dataSource]="data" [rowOutlineInfo]="rowOutlineInfo">
  <gc-column dataField="name" headerText="Name" [width]="columnWidth[0]"></gc-column>
  <gc-column dataField="chapter" headerText="Chapter" [width]="columnWidth[1]"></gc-column>
  <gc-column dataField="page" headerText="Page" [width]="columnWidth[2]"></gc-column>
</gc-worksheet>
</gc-spread-sheets>
스크립트 코드에 위의 다른 속성을 정의하겠습니다. 이 경우 스크립트가 동일한 폴더의 "app.component.ts" 파일에 추가됩니다. SJS용 라이선스는 일부 예비 변수를 사용하여 컴포넌트를 초기화하는 것으로 시작할 수 있습니다.
import { Component } from '@angular/core';
import * as GC from "@grapecity/spread-sheets";
GC.Spread.Sheets.LicenseKey = "<YOUR LICENSE HERE>";
@Component({
selector: 'app-root',
templateUrl: './app.component.html',
styleUrls: ['./app.component.css']
})
export class AppComponent {
spread?: GC.Spread.Sheets.Workbook;
title = 'spreadjs-angular-app';
spreadBackColor = 'aliceblue';
sheetName = 'Java 101 Chapters';
hostStyle = {
width: '800px',
height: '600px'
};
data: any;
rowOutlineInfo: any;
showRowOutline = true;
columnWidth = [310,150,100];
initSpread($event: any) {
this.spread = $event.spread;
let spread = this.spread;
spread?.suspendPaint();
}
}데이터에 바인딩되므로 AppComponent 클래스에 구성자를 추가하여 해당 데이터를 초기화할 수 있습니다.
constructor() {
// This is the base data that we will bind to the Spread instance
let commands = [
  { name: 'Preface', chapter: '1', page: 1, indent: 0 },
  { name: 'Java SE5 and SE6', chapter: '1.1', page: 2, indent: 1 },
  { name: 'Java SE6', chapter: '1.1.1', page: 2, indent: 2 },
  { name: 'The 4th edition', chapter: '1.2', page: 2, indent: 1 },
  { name: 'Changes', chapter: '1.2.1', page: 3, indent: 2 },
  { name: 'Note on the cover design', chapter: '1.3', page: 4, indent: 1 },
  { name: 'Acknowledgements', chapter: '1.4', page: 4, indent: 1 },
  { name: 'Introduction', chapter: '2', page: 9, indent: 0 },
  { name: 'Prerequisites', chapter: '2.1', page: 9, indent: 1 },
  { name: 'Learning Java', chapter: '2.2', page: 10, indent: 1 },
  { name: 'Goals', chapter: '2.3', page: 10, indent: 1 },
  { name: 'Teaching from this book', chapter: '2.4', page: 11, indent: 1 },
  { name: 'JDK HTML documentation', chapter: '2.5', page: 11, indent: 1 },
  { name: 'Exercises', chapter: '2.6', page: 12, indent: 1 },
  { name: 'Foundations for Java', chapter: '2.7', page: 12, indent: 1 },
  { name: 'Source code', chapter: '2.8', page: 12, indent: 1 },
  { name: 'Coding standards', chapter: '2.8.1', page: 14, indent: 2 },
  { name: 'Errors', chapter: '2.9', page: 14, indent: 1 },
  { name: 'Introduction to Objects', chapter: '3', page: 15, indent: 0 },
  { name: 'The progress of abstraction', chapter: '3.1', page: 15, indent: 1 },
  { name: 'An object has an interface', chapter: '3.2', page: 17, indent: 1 },
  { name: 'An object provides services', chapter: '3.3', page: 18, indent: 1 },
  { name: 'The hidden implementation', chapter: '3.4', page: 19, indent: 1 },
  { name: 'Reusing the implementation', chapter: '3.5', page: 20, indent: 1 },
  { name: 'Inheritance', chapter: '3.6', page: 21, indent: 1 },
  { name: 'Is-a vs. is-like-a relationships', chapter: '3.6.1', page: 24, indent: 2 },
  { name: 'Interchangeable objects with polymorphism', chapter: '3.7', page: 25, indent: 1 },
  { name: 'The singly rooted hierarchy', chapter: '3.8', page: 28, indent: 1 },
  { name: 'Containers', chapter: '3.9', page: 28, indent: 1 },
  { name: 'Parameterized types (Generics)', chapter: '3.10', page: 29, indent: 1 },
  { name: 'Object creation & lifetime', chapter: '3.11', page: 30, indent: 1 },
  { name: 'Exception handling: dealing with errors', chapter: '3.12', page: 31, indent: 1 },
  { name: 'Concurrent programming', chapter: '3.13', page: 32, indent: 1 },
  { name: 'Java and the Internet', chapter: '3.14', page: 33, indent: 1 },
  { name: 'What is the Web?', chapter: '3.14.1', page: 33, indent: 2 },
  { name: 'Client-side programming', chapter: '3.14.2', page: 34, indent: 2 },
  { name: 'Server-side programming', chapter: '3.14.3', page: 38, indent: 2 },
  { name: 'Summary', chapter: '3.15', page: 38, indent: 1 },
  { name: 'End', chapter: '', indent: null }
];
}
특정 데이터에 대해 행 개요를 사용하면 해당 구성자에 코드를 추가하여 데이터 소스의 각 행에 대한 행 개요를 작성할 수 있습니다. 다음 논리는 각 데이터 행의 "indent" 값을 기반으로 행 개요를 작성하고 지정된 공간 양으로 들여쓰기합니다.
// Create a rowOutlineInfo object for each row
this.rowOutlineInfo = [];
for (let r = 0; r < commands.length; r++) {
var subRows = 0, indent1 = commands[r].indent;
// Get the number of rows that subrows to the current one and add them to the outline
for (let r2 = r + 1; r2 < commands.length; r2++) {
let indent2 = commands[r2].indent;
if ((indent1 !== null) && (indent2 !== null)) {
if(indent2 > indent1) {
subRows++;
}
}
if ((r2 == (commands.length - 1)) || (commands[r2].indent == commands[r].indent)) {
var i = { index: r + 1, count: subRows }
this.rowOutlineInfo.push(i);
break;
}
}
// Add tabs based on the indent column
if (indent1 != null) {
for (let i = 0; i < indent1; i++) {
commands[r].name = "\t\t\t\t\t" + commands[r].name;
}
}
}마지막으로, Spread 인스턴스에 대한 데이터를 설정할 수 있습니다.
// Set the data for Spread
this.data = commands;
Angular 스프레드시트 빌드 및 실행
응용 프로그램 코드가 완료되었으므로 이제 빌드하고 실행해야 합니다. 이 작업을 수행하려면 명령 프롬프트로 돌아가서 다음 명령을 입력하십시오.
ng serve

힙 메모리 오류가 발생하는 경우 다음 명령을 대신 실행합니다.
node --max_old_space_size=8048 ./node_modules/@angular/cli/bin/ng serve
응용 프로그램이 성공적으로 빌드되면 "localhost:4200"으로 이동하여 브라우저에서 JavaScript Excel 스프레드시트를 볼 수 있습니다.
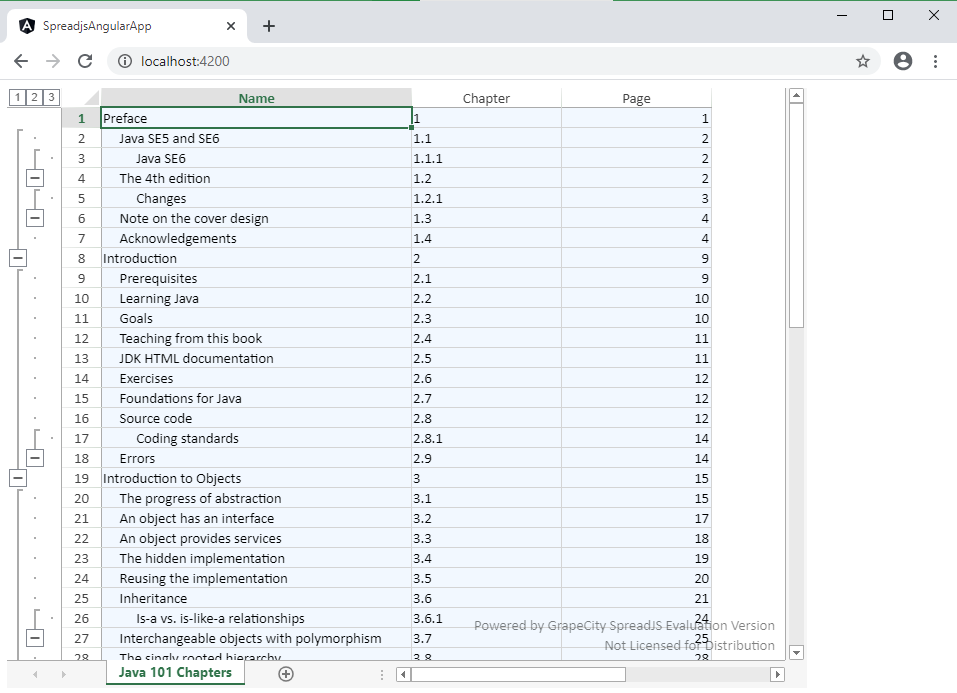 성공적인 빌드
SpreadJS는 다양한 프레임워크와 함께 사용할 수 있으며, Angular는 하나의 옵션일 뿐입니다. Angular CLI를 사용하면 응용 프로그램을 간단하게 만들 수 있으며, SpreadJS를 사용하면 데이터를 아주 쉽게 표시할 수 있습니다.
지금 바로 SpreadJS를 다운로드하여 직접 테스트해보세요!

댓글목록
등록된 댓글이 없습니다.